Take Back Your Desktop!
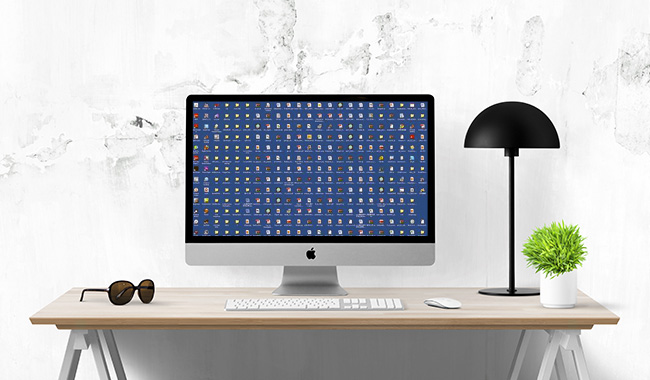
Does your desktop look like this?

What, you think we didn’t know about your tendency to hit save and put the file in the first place that pops up in your file organizer?
Well guess what: it’s SPRING CLEANING TIME!
But what does spring cleaning look like on a computer?
Much like your home, if you pile everything into a giant pile, it will be very difficult to find what you are looking for later. And what’s worse, you might accidently throw it away!
Think of your desktop like your home. But like organizing a home, where do you start?
START HERE:
MINI TECH TIP: Hold down the windows key on your keyboard and tap the E key. This will open up your windows explorer. Now, do it again to open a second one. You will now have 2 windows explorers open on your screen.
Arrange them so they are sitting next to each other and you can clearly see them both at the same time.
The explorer on your left is your giant pile.
Scroll to the top and click your desktop. Here ALL OF THE Files you have saved here will display. (Note this messy file may not be your desktop, if you’ve tried organizing before, it may be another folder. Open that one)
The explorer on your right will be brand new, clean, organized files.
Decide where you want to house all of your files from here on out (Hint: it isn’t your desktop)
Popular choices are your:
- (C:) Drive
- A Network Drive
- One Drive
- External Drive
- If you really feel uncomfortable moving away from your desktop, create a new folder on your desktop and name it “My Files”
Open this area in the window on the right so that you are looking at a nice clean blank window.
Time to GET ORGANIZING!
Before you can start moving your files into their new tidy home, you need to have a neat and tidy place to put them.
Start by categorizing. Perhaps you want to separate files by client, or maybe by process. In my case I sort my files by project. In your blank right explorer window, Create a folder for each category you want to have.
It could look like this:
- CLIENTS
- EXPENSES
- SALES COLLATORAL
- BRANDING STANDARDS
- PROJECTS
Now go into each of your newly created categories and start breaking them down further by creating new folders inside of them.
It could look something like this:
CLIENTS>
- ABC Company
- 123 Company
- XYZ Company
EXPENSES>
- Travel
- Home Office
- Employee
SALES COLLATORAL>
- Power Points
- Fliers
- Business Cards
- Videos
- Email Templates
BRANDING STANDARDS>
- Logos
- Templates
- Standards
PROJECTS>
- Project Name 1
- Project Name 2
- Project Name 3
- Project Name 4
You can continue to break down each of your folders to as small as you need them to be. For instance:
CLIENTS>
- ABC Company
- Invoices
- January
- February
- March
- Paid Receipts
- January
- February
- March
- Contracts
You have now created a nice neat organized structure to house all your files. How you break down your categories is up to you, just make sure it works for you and your business!
Now for the tedious part…
We’ve been working in our nice clean window, but it’s time to sift through the giant pile and see what’s in there. The best way to tackle this is to go down the list, one by one.
MINI TECH TIP: It is helpful to open your preview pane in windows explorer to quickly see what your file is about. Depending on your version of windows explorer, you can either click on the VIEW menu at the top of your window and select preview pane, or use the drop down in the upper right of your ribbon.
Select the first document and ask yourself the following question:
Do I still need this document?
- YES> Where should I put it?
- NO> Delete it.
If you decided YES, open the folder that you think it should belong in. click and drag your file from your left windows explorer over to your right, and drop it into that folder. DONE.
Continue this same action with the rest of the files in your messy folder.
NOTE: It is okay to create new folders if you realize your first categorization wasn’t quite enough. It is also OK to delete folders if you realize they weren’t really needed. (just make sure they are empty first!)
MINI TECH TIP: In case you notice that your file names are less descriptive than you’d like (123hg34-877-man-on-bike-7.png) You can easily change their names to whatever you’d like by doing two single clicks (click pause click, different than the double click which will open the file) on the file name, and simply typing a new one. You can also right click and select “re-name” for the same effect.
Once you have gotten to the last file, your desktop will be squeaky clean! Having moved all your files into their new homes… err… folders. If you are an individual who has more than one messy folder to contend with, simply continue to open the messy folder in the window on your left, dragging and dropping the files into their appropriate folders on the right until you’ve gotten through all the messy folders!
Before you know it, you’ll be addicted to organizing your files and about 1000 times more efficient in finding exactly what you need when you need it!
Happy cleaning!
 Full Course: Project Triage: Rescuing Troubled Projects (2 days)
Click here for our full list of available courses!